Sunday 29 May 2016

Hand made texture stamps - 70 of 366 creative days

70/366 Hand made texture stamps in polymer clay or wax or rubber


a - Materials

  1. Polymer clay
  2. Wax
  3. Rubber
  4. Dried or fresh plants


b - Tools

  1.  Sculpting tools for soft materials (can also use:needles, toothpicks, nails, etc)
  2.  Sculpting tools for harder materials (chisels with gouge)
  3. Rolling pin


c - Techniques

  1. For polymer clay use round ball tools and just draw what you have in mind, be patient and clean the scraps with a soft brush often.
  2. If you want to make a specific design from a  digital version, 
    1. Print the design on a piece of paper and then copy it using a toner copier  
    2. Place it face down on the polymer clay, 
    3. Dab the back of the paper with a piece of cotton that was previously dampen in alcohol
    4. Remove the paper
  3. For drawing on wax, print the design and use carbon copy paper, same for rubber or wood.
  4. For soft materials like clay, use also plants (dried or soft) and "sunk" them into the clay using the rolling pin, or place the plant on the table and roll the clay over it with the roller.


d - End result

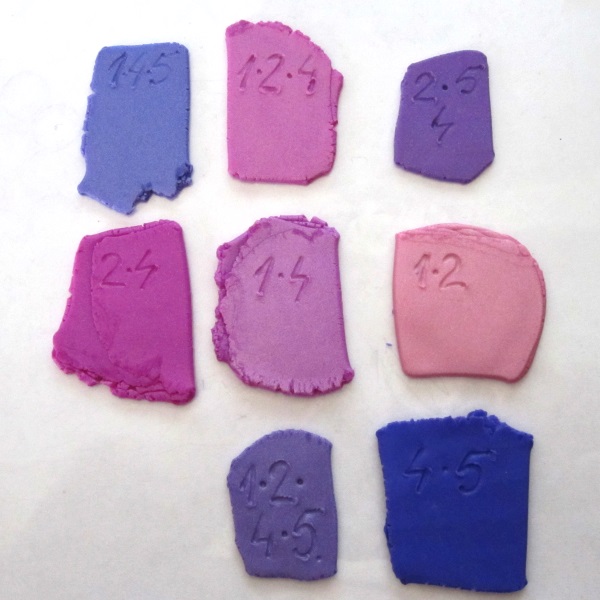
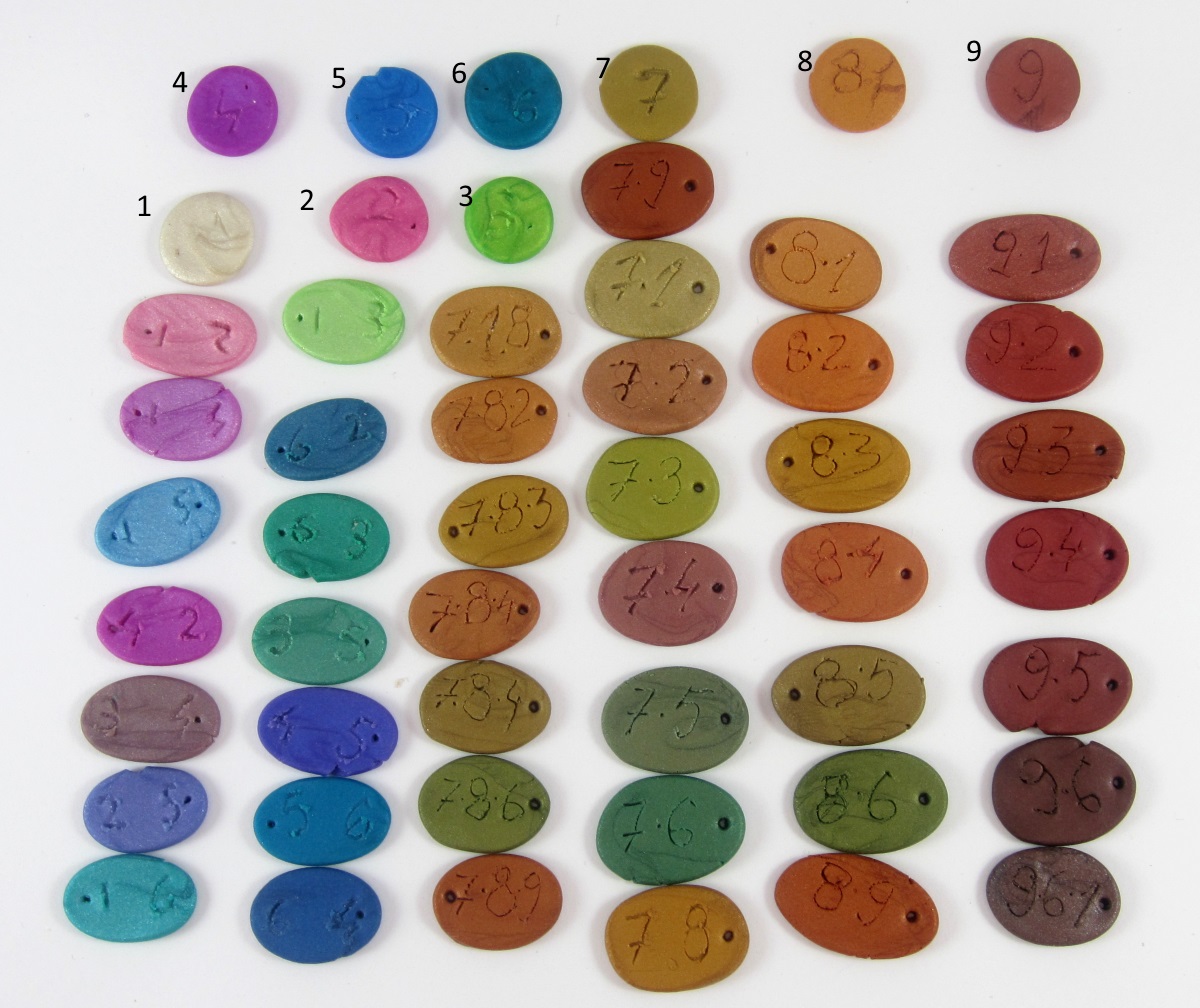
Polymer clay texture free hand

Polymer clay and fresh flowers texture plate

Thursday 26 May 2016

Hand made recycling cookie cutters - 69 of 366 creative days

69/366 - Hand made cookie cutters from recycled aluminium cans

Cookie cutters from aluminium soda cans. Cat shape. The site is about as tall as 2 coins of 10 or half of index finger. The example below is cut polymer clay.


a - Materials

  1. Aluminium cans
  2. 2 mix Glue


b - Tools

  1. Scissors
  2. Straight pliers
  3. Round pliers

c - Techniques

  1. Draw your design on a piece of paper at the scale you need it
  2. Cut the bottom of the can using a knife.
  3. Cut 3 cm width strips
  4. Bend few millimeters at the top twice, so it will make it more sturdy.
  5. Bend to match the shape you drew at the beginning using the pliers, make sure you leave some few mm for overlapping and gluing. as well, the binding area should be on a straight side, never at a corner or deep bend, will be easier to glue them together.

d - End result


I will post pictures with he steps when I will try to repeat the process. I found a nice way of doing even more complex cutters by plunging them in polymer clay and baking it after. You can find this technique and few others saved in DIY tools on Pinterest.

Sunday 22 May 2016

Healthy chicken muesli crust schnitzel - 68 of 366 creative days

68/366 - Chicken muesli crust schnitzel - healthy and diet

The extra crunchy crust schnitzel I made using some leftovers. When I realized is so good,  I start to experiment, so this was the recipe.

a - Materials

  1. Chicken breast 
  2. Egg (1-2)
  3. Bread crumbs (home made or bought)
  4. Plain rolled oats
  5. Soy sauce (100ml)
  6. Oil
  7. Pepper
  8. Garlic
b - Tools

  1. Plates
  2. Knife
  3. Pan
  4. Plastic foil or sandwich bags
  5. Meat tenderizer


c - Techniques
           1 - Cut the chicken bread into slices 1 cm thick, add pepper and garlic paste (made from mashing the garlic, cleaned upfront) and soak in the soy sauce, coating all over. The lay the fix on a cutting board, cover with the plastic and pound with tenderizer until become half centimeter. Can be left in the fridge for few hours and stirred occasionally so it will soak the aromas.


Chicken breast in soy sauce and spices
          2 - Beat the eggs in a bowl and soak the pieces of chicken one at a time. Going trough it before and after step 3.
Egg

              3 - Break crumbs. After soaking in egg, place it in the bread crumbs, then again trough egg before step 4. move needs to be done fast

Bread crumbs
               4 - Rolled the soaked meat trough the rolled oats, trying to get on as much as possible.

Rolled oats
         5 - Place some oil in a pan and set to high heat before starting soaking the first piece of meat.
Place it in the pan, and turn it 4 times 1-2 minute on each side, depends on the thickness.
Check with the back of a fork, should "spring" back.

Schnitzel frying pan


d - End result


 The interior is soft and easy to bite while the exterior is crunchy. The aroma from the soy sauce will break trough and also the rolled oats will have their own addition.
 These are very healthy, but keep in mind that fired oats and crumbs have calories.

Thursday 19 May 2016

DIY Home made photo booth - 67 of 366 creative days

67/366 - DIY home made photo booth

  If you don't have money to buy a photo booth for you jewelry, just look around your house, you can always find spare part to help you build a photo booth like: wire, boxes (cardboard, plastic, metal if you are hard core), paper, tape.
  All you need is a bit of imagination. So see what I did when my drying rack broke several years ago (about 4)

a - Materials

  1. Hard wire
  2. Soft wire (tape can be used instead, but will make everything less sturdy
  3. Light bulbs the higher the better, I had 120 W output, but could have been much better
  4. Tape
  5. Wax paper, or cooking parchment, white
  6. White paper
  7. Aluminium foil


b - Tools

  1. Pliers
  2. Wire cutters

c - Techniques
           1 - Make from one wire a square and the leg of height of the box and repeat so you can have 2 pieces. Leave at the end a 2-3 cm to be able to bend and will be used for link the pieces between themselves.

Top and bottom of the wire skeleton of the  photo booth
Wire joints for linking the squares for top and bottom


            2 - Link the top and bottom together using the bent end wires. use thinner wire or extra wire for the 2 other legs that are missing.

Wire joints for linking the top and bottom

Top and bottom of the skeleton photo booth put together
            4 - Add paper all around and use tape to stick it together
            5 - Use another wire to build a big circle and a small circle( that worked for my type of lamp).
Cover the big circle with aluminium foil (used for wrapping and secure it with a tape)

d - End result


You will need to find ways of figuring out of putting together based on whatever you have. The bottom line is to have all the joints secure enough. The objects you will use will not be too heavy, but is good that entire photo booth to be good enough so you wont need to patch every photo shoot.

Tuesday 17 May 2016

Polymer clay purple and pink color mix - 66 of 366 creative days

66/366 - Color mix for flowers and more

The mix is done regardless of company and turned out pretty well.
It goes well specially when you want to soften FIMO hardness.
Studio Sculpey is a very soft clay that goes softer with hand heat(specially if you have warm hands by default). Studio and PREMO Sculpey seems to remain soft over the years compared to FIMO classic.
So please see below the color mix that I played with (that's why the random combos), was a lot of fun and element of surprise.

a - Materials

  1. Premo Sculpey Accents Pearl - 5101 
    Premo Accents Pearl
  2. Premo Sculpey Accents Magenta Pearl 2029 - the light pink that was used for this experiment was discontinued in 2015(can be mixed from 8 parts Premo Accents Pearl 5101 + 1 part Premo Fuchsia 5504), the 2016 version is a strong pink. 
    Premo Accents Magenta Pearl
  3. Premo Sculpey Accents Bright Green Pearl 5035 
    Premo Accents Bright Green Pearl
  4. Premo Sculpey Accents Purple Pearl 5031 
    Premo Accents Purple Pearl
  5. Premo Sculpey Accents Blue Pearl 5289 - was discontinued, can be mixed from 6 parts Premo Navy Blue 5010 + 1 part Premo Accents Pearl 5101 + 1 part Premo White 5001 + 1/8 part Premo Accents Cadmium Yellow 5572 
    Premo Accents Blue Pearl
  6. Premo Sculpey Accents Peacock Pearl 5038 
    Premo Accents Peacock Pearl
  7. Studio Sculpey Antique Gold 6894
    Studio Sculpey Antique Gold
  8. Fimo Effect Metallic Gold 11 
    Fimo Effect Gold
  9. Fimo Effect Metallic Copper 27 
    Fimo Effect Copper

Very useful Premo chart with discontinued colors with formulas.

b - Tools

           1 - Hands or pasta machine

c - Techniques

           1 - Mix equal amounts from the above colors

d - End result
Color Premo Pearl color mix
Color Premo Accents Sculpey Fimo metallic pearl Mix Chart

The picture shows the colors very close to reality. I love earthy colors and all those combinations please me.


Sunday 1 May 2016

Asian style stir fry - low carb - 65 of 366 creative days

65/166 - Asian style stir fry low/no carbohydrates

For the sixty sixth day of 366 creative days I posted my stir fry recipes, easy to make, very tasty, can match all tastes and very healthy and with as little carbs and calories as possible.

Stir fry no carbs vegetarian 

Materials

      1 - Any 4-5 vegetables you have in the fridge or around the house (onion, carrots, mushroom, chicken, cabbage, chicken, tuna, noodles, etc)
   Example:
- onions, Chinese cabbage, tuna, avocado, mushrooms (Pic 1)
- onions, celery, chicken, spinach, red pepper, mushrooms (Pic 2)
- onions, red and white pepper, tuna, spinach (Pic 3)
- onions, mushroom, spinach, red pepper, cauliflower - vegetarian (Pic 4)

     2 - 50 - 60 ml from the following sauce mix
         - 1 spoon of balsamic or white vinegar
         - 2-3 spoons of dark soy sauce
         - 1 spoon oyster sauce
         - rest up to 50 - 60 no sugar soy sauce
Combination can be made by adding oyster sauce or mirin or teriyaki but i prefer to keep it low carbs
      3 - 2-30 ml oil mix (sesame, olive oil, aromatic ginger oil)
      4 - 1-2 cloves or garlic
      5 - 5-6 thin slices of ginger if you have and like (even pickled is good
      7 - pepper, 5 spices, etc


b - Tools

           1 - Wok, I prefer non stick
           2 - Sharp big knife
           3 - Wooden or non stick big spoon
           4 - Measuring cup
           5 - Imagination
 

c - Techniques
           1 - Wash and chop the vegetable in thick slices, 1/2-1 centimeter for hard vegetables and 5 cm for soft like spinach, Chinese cabbage, etc.
           2 - Prepare the sauce mix in advance in the measuring cup and add also the spices
           3 - Place the wok on the highest heat setting and add the oil. When is very hot, thrown the ginger and garlic, and leave it for 20-30 seconds, before it goes brown. Garlic can be removed.
           4 - add first the meat (thinly slices - 2-3 mm) and add 1/3 of the sauce. Stir continuously until the meat gets white, no need to be fully cooked, otherwise will get dry by the end of the full dish (1-2 minutes).
           5 - add the hard vegetables (carrots, onion, celery, cauliflower, mushrooms, cabbage, pepper, etc) and add another 1/3 of the sauce ( 3-5 minutes, depends on the vegetables, cabbage needs a bit more until is getting softer)
            6 - add the soft vegetables (spinach, salad, Chinese cabbage, bean sprouts, etc) with the remaining sauce. (1-2 more minutes)
            7 - serve while hot, but can be served also cold if you like it        


d - End result

Stir fry - onions, celery, tuna, avocado, mushrooms
Stir fry no carbs - onions, celery, tuna, avocado, mushrooms

Stir fry - onions, celery, chicken, spinach, red pepper, mushrooms
Stir fry no carbs - onions, celery, chicken, spinach, red pepper, mushrooms

Stir fry no carbs - onions, red and white pepper, tuna, spinach
Stir fry no carbs - onions, red and white pepper, tuna, spinach

Stir fry no carbs vegetarian - onions, mushroom, spinach, red pepper, cauliflower
Stir fry no carbs vegetarian - onions, mushroom, spinach, red pepper, cauliflower
I am sorry the pictures are not that good. The recipe can be varied based on taste. if you have too many ingredients ( I usually place 1 item each - 1 big onion, 1 tiny carrot, 1 can mushroom, 1 chicken breast thinly sliced) you might need to add a bit more sauce, up to 75 ml.
I cook based on my mood and add ingredients based on my imagination. I never had complaint so far for this dish, whatever was the variation. I was even asked for recipe.
I will try to perfect it a bit more and check the time more precise.

I hope you will enjoy it or get some inspiration.

Related Posts Plugin for WordPress, Blogger...